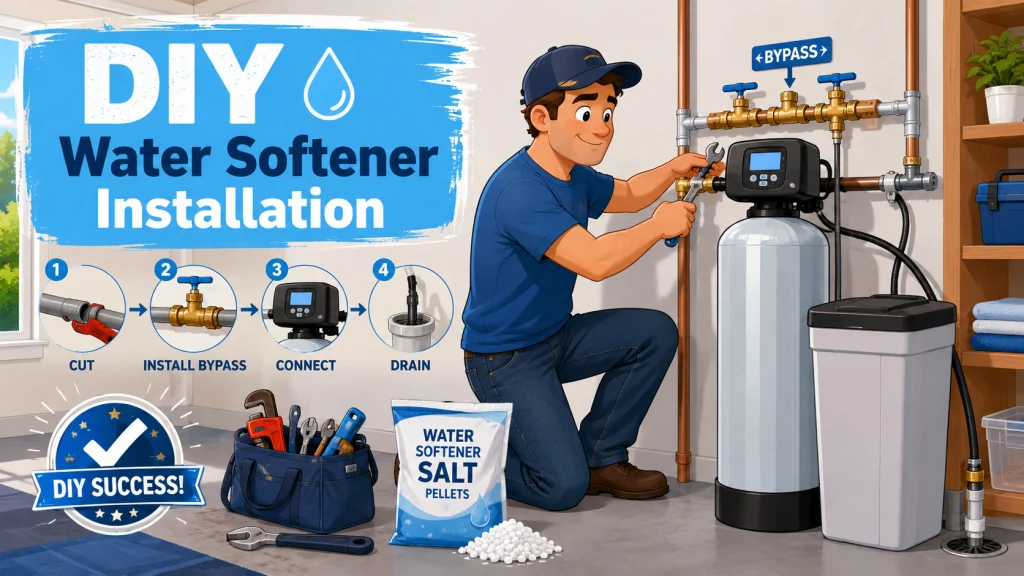
What DIY Water Softener Installation Actually Involves
DIY water softener installation is a plumbing job, not a handyman job. That distinction matters because once you shut off the main supply and cut into your water line, you have no running water until the job is finished. That said, for anyone comfortable with basic plumbing, this is a one-afternoon project. I’d put first-timer time at 3 to 5 hours with a clear installation location and all materials on hand. If you are replacing an existing softener and the connection points are already there, you are looking at under 2 hours.
The work breaks into four phases: cutting the pipe and installing the bypass valve, connecting the supply hoses, running the drain line, and programming the control head. None of these steps are technically demanding. The sequence matters more than the skill level, and the preparation you do before the water goes off matters more than either. If you are still deciding between DIY and hiring out, the full water softener installation overview covers the cost breakdown and the specific scenarios where calling a plumber makes more sense than doing it yourself.
What You Need Before You Start
Get everything together before you shut off the water. Once the main is off, you want to be moving. The tool list is shorter than most people expect, and if your softener came with a bypass valve and drain hose already included, your out-of-pocket materials cost is typically under $50.
| Item | Notes |
|---|---|
| Pipe cutter | Rotary cutter for copper, PEX, or CPVC. A hacksaw works but leaves a rough edge that can interfere with push-fit fittings. |
| Push-fit water softener supply hoses (3/4-in to 1-in FIP, 24-in) | One inlet, one outlet. Check your pipe diameter before buying. Most residential mains run 3/4-in or 1-in. |
| Bypass valve | Usually included with the softener. Confirm before purchasing separately. |
| Teflon tape | For any threaded connections on the bypass valve ports. Two to three wraps, pulled tight before threading. |
| Drain hose | Usually included with the softener. Needs to reach a floor drain, utility sink, or standpipe. |
| Bucket and towels | For water still in the pipe after shutoff. Even with the main off, there is residual water in the line. |
| Marker | For marking cut points on the pipe before cutting. |
The one thing worth confirming before you buy anything: the pipe diameter at your installation point. Push-fit supply hoses come in different inlet sizes to match different pipe diameters. Buying the wrong size is the most common pre-job mistake I see, and it means a second trip to the hardware store with the water still off. Most residential mains run 3/4-inch or 1-inch. If you are unsure, a pipe measuring tape or a pair of calipers will tell you in ten seconds.
- Pipe material. Copper, PEX, and CPVC work. Galvanized steel and black iron do not. Push-fit fittings require a smooth, round pipe end to seal correctly.
- Pipe size. Measure the outside diameter of your supply line. Do not guess by eye. Most residential mains are 3/4-inch or 1-inch, but they are not always the same throughout a house.
- Bypass valve port size. The supply hoses connect to the bypass valve, not directly to the softener body. Check what size the bypass valve ports are before buying hoses. They are labeled on most valves.
- Drain hose reach. Measure the distance from the softener location to the nearest floor drain, utility sink, or standpipe. The drain hose included with most softeners runs 6 to 8 feet. If you need more, buy an extension before you shut off the water.
- Outlet distance. The control head power cord is typically 6 feet. Confirm a 120V outlet is within that range. If it is not, have an electrician add one before installation day. A permanent extension cord is not a substitute.
Why Push-Fit Fittings Changed This Job
Not long ago, if your supply line was copper and you did not own a torch, you either hired a plumber to make the pipe connections or you learned to solder first. Push-fit fittings removed that barrier entirely. You cut the pipe cleanly, slide the fitting onto the cut end, and it grabs. An internal O-ring seals the connection and a set of stainless steel teeth grip the pipe. No flux, no flame, no waiting for a joint to cool. For a water softener installation, where you need two connections, one inlet and one outlet, the pipe work is now the fastest part of the whole job.
Field Note: One installer on the TractorByNet forums described his twin-tank softener hookup this way: “All I did was cut the copper, used two 12-inch SharkBite to threaded end supply lines, and was done in two minutes. Never leaked.” That lines up with what I’ve seen on jobs where the connection points were already accessible. The hard part is not the fittings.
One caveat worth knowing before you buy: push-fit fittings work on copper, PEX, and CPVC pipe. They do not work on galvanized steel or black iron pipe. Galvanized main lines are less common in newer construction, but they do still show up in older homes. If your supply line is galvanized, you’ll need threaded fittings or a plumber to make the transition. Take a look at your pipe before you head to the hardware store.

This flexible braided stainless steel connector is compatible with PEX, PE-RT, CPVC, SDR-9 HDPE, and copper pipes, making it a versatile fit for nearly any plumbing setup. Both ends make tight turns without kinking, and installation requires no tools, crimping, glue, or soldering, which is ideal for tight spaces or misaligned pipes. Rated for up to 200 PSI and 200 degrees F, this lead-free connector meets commercial and residential plumbing standards for a clean, reliable, leak-free connection.
Check On AmazonIf you click this link and buy, we earn a commission at no additional cost to you.
How to Install a Water Softener Yourself, Step by Step
Follow this sequence in order. Rearranging steps is how straightforward installs turn into extended afternoons. Everything below assumes you have already confirmed your installation location, before the water heater and after the main shutoff, with access to a drain and an outlet. If you have not settled that yet, sort it first.
- Shut off the main water supply. The main shutoff is typically at the point where the water line enters the house, or next to the pressure tank if you are on well water. Turn it fully off, then open a faucet inside the house to relieve line pressure and confirm the flow has stopped. Place your bucket under the area where you will be cutting.
- Mark your cut points. Decide where the bypass valve will sit in the line. You need enough clearance on each side for the supply hose connections. Mark both cut points with a marker before picking up the pipe cutter.
- Cut the pipe. Use a rotary pipe cutter for a clean, square cut. After cutting, deburr the inside edge with the reamer on the back of the cutter or a small piece of sandpaper. A rough interior edge is not a problem for water flow, but it can nick the O-ring on a push-fit fitting if it is sharp enough.
- Attach the bypass valve to the softener control head. Connect the bypass valve to the control head ports according to the unit’s directions. Wrap all threaded connections with Teflon tape, two to three wraps, pulled tight before threading. Hand-tighten plus a quarter turn. Over-tightening plastic bypass valve ports is a reliable way to crack them.
- Connect the supply hoses. Push the push-fit ends onto the cut pipe ends. You should feel them seat. Give each one a firm tug to confirm they are fully in. Thread the FIP ends onto the bypass valve inlet and outlet ports. Inlet connects to the line coming from the main shutoff. Outlet connects to the line going toward the water heater and the rest of the house. Most bypass valves are labeled; if yours is not, the flow direction should be in the documentation.
- Connect the drain hose. Run the drain hose to a floor drain, utility sink, standpipe, or laundry drain connection. The end of the drain hose needs to be positioned above the drain opening, not submerged in it. A submerged drain end can siphon wastewater back into the softener during a regeneration cycle. Most installers zip-tie or clip the drain hose end to the side of the drain pipe to hold the air gap in place.
- Plug in power. The control head needs a standard 120V outlet within cord reach. Do not use an extension cord for a permanent installation. If your chosen location does not have a nearby outlet, that is worth planning before you commit to the spot.
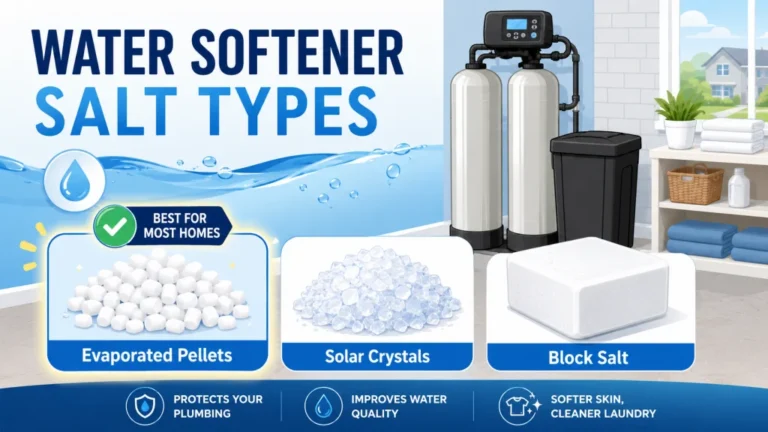
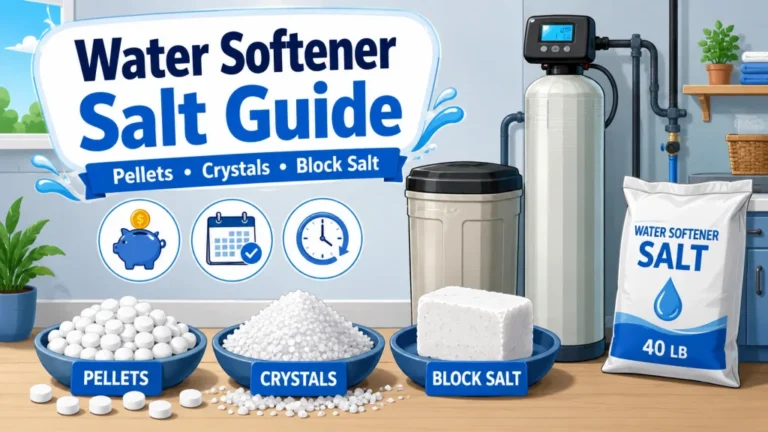
- Fill the brine tank with salt. Start with about one-third of the tank’s total capacity. Do not fill it to the brim on the first load. The system establishes a brine solution before the first regeneration cycle, and overfilling too early increases the risk of a salt bridge forming before the salt level has a chance to drop through normal use.
- Program the control head. Set the current time, your water hardness level in grains per gallon, and the scheduled regeneration time. Two in the morning is standard because it falls outside most households’ water demand hours. Use your actual water test result for the hardness setting. If you do not have one, your local utility or county extension office can usually provide municipal water hardness data for your area.
With all nine steps complete, turn the main back on slowly. Watch the supply hose connections as pressure builds. A small amount of air will sputter from the open faucet you left on earlier. Let it run clear, then close the faucet and do a visual check across every connection point before moving on.

This USA-made tubing cutter handles copper, brass, aluminum, and thin-wall conduit from 3/16 to 1 and one eighth inches, delivering clean, square cuts every time. The X-CEL knob speeds up the cutting process by advancing the cutting wheel faster than a standard feed screw. Ridgid backs this tool with a lifetime warranty against defects in materials and workmanship.
Check On AmazonIf you click this link and buy, we earn a commission at no additional cost to you.
The Three Mistakes That Show Up After the Job Is Done
These are not worst-case scenarios. They are patterns I’ve seen repeat often enough that they’re worth calling out specifically, because two of them require replumbing the connection point to fix after the fact.
- Installing after the water heater instead of before it. The softener goes between the main shutoff and the water heater. That position treats water before it reaches any fixture in the house, including the water heater’s supply. If the softener is installed after the water heater, only water that has already been heated gets softened. Cold lines, outdoor faucets, and the water heater’s own supply all stay hard. Correcting this means moving the connection point, which means doing the job again.
- Leaving outdoor hose bibs downstream of the softener. Softened water contains elevated sodium. Applying it repeatedly to lawn, garden beds, or potted plants accumulates sodium in the soil over time and damages plants. Outdoor faucets and irrigation lines need to be plumbed upstream of the softener, on the untreated side. If the installation location puts outdoor lines downstream, you’ll need to add a tee before the softener to feed those lines from the unsoftened supply.
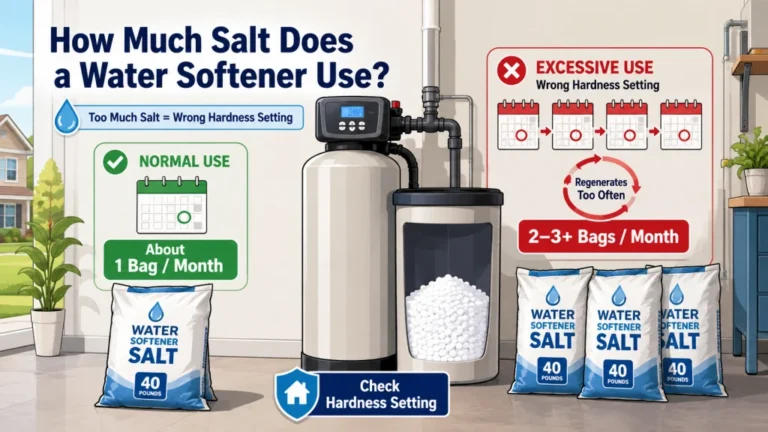
- Setting water hardness higher than your actual test result. Some first-timers reason that a higher setting gives them extra protection. What it actually does is run longer regeneration cycles, consume more salt, and waste water, without improving softening performance. Set the hardness to match your test result. If your water tests at 18 GPG, set 18. The system is designed to work at the actual number, not an inflated one.
There is a fourth issue worth addressing, though it is less a mistake and more a misunderstanding. New installers sometimes expect soft water immediately after completing the installation. The resin bed needs one full regeneration cycle to fully condition before the system produces reliably soft water. If you finish the install in the afternoon and the first scheduled regen is set for 2 AM, your water will not be soft until the following morning. Running a manual regeneration from the control head gets you there without waiting overnight.

This kit includes 150 dip-and-read test strips for quickly measuring water hardness across virtually any source, including home faucets, well water, softeners, dishwashers, showers, and aquariums. Results are instant and easy to read against a color chart, making it simple to verify whether your water softener, reverse osmosis, or water conditioning system is performing as expected. A bonus eBook is included to help you record, track, and interpret your results over time.
Check On AmazonIf you click this link and buy, we earn a commission at no additional cost to you.
Final: How to Confirm the Installation Actually Worked
Run a manual regeneration cycle immediately after startup. Once it completes, test the water at a cold tap with a hardness test strip. A reading at or near zero grains per gallon means the resin is charged and the system is producing soft water. If the result is unchanged from your pre-install baseline, check two things first: that the bypass valve is fully in service position, not partially open, and that brine was actually drawn during the regen cycle. A brine tank that has not had time to dissolve salt yet is the most common reason a first regeneration fails to condition the resin.
While the regen cycle is running, check every fitting for moisture. Run a finger or a dry cloth across each push-fit connection, the bypass valve threads, and the drain hose clamp. A slow weep at any fitting is far easier to address now than after weeks of dripping have soaked into whatever cabinet or wall the softener is mounted near. A correctly seated push-fit fitting and properly taped threaded connection should be completely dry after the first full pressurization. What comes next, salt management, regen frequency, resin cleaning, is a longer topic. The water softener installation and maintenance guide covers what the first several months of ownership typically look like and what to pay attention to as the system settles in.
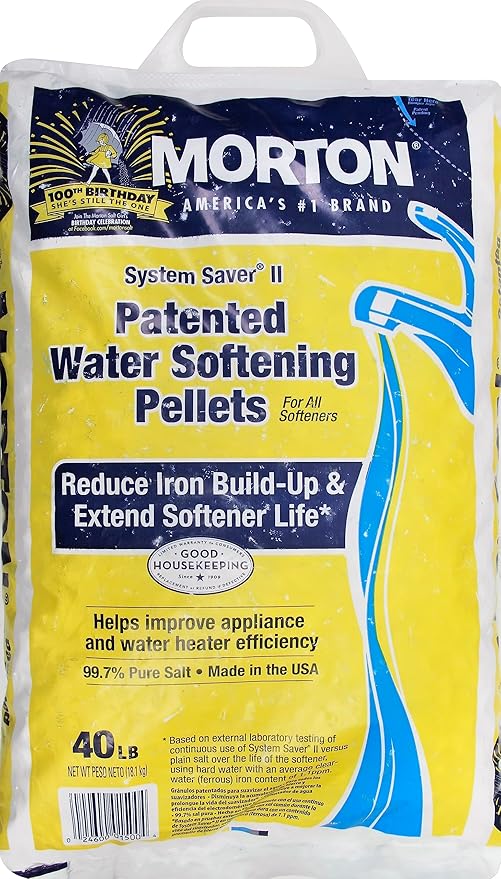
This 40-pound bag of USA-made System Saver pellets is designed to improve the taste of your water while helping extend the life of your appliances and water softener. Simple to use, just add the pellets directly to your softener's brine tank as needed.
Check On AmazonIf you click this link and buy, we earn a commission at no additional cost to you.
FAQs
🔧 Do I need a permit to install a water softener myself?
Most municipalities do not require a permit for a water softener installation, but some do for any modification to the main water supply line. Check with your local building department before starting. Where permits are required, they typically cost $50 to $150 and involve a simple inspection of the connection.
💧 What pipe types work with push-fit water softener supply hoses?
Push-fit fittings are compatible with copper, PEX, and CPVC pipe. They do not work on galvanized steel or black iron pipe. Check your pipe material before buying supply hoses. If your main line is galvanized, you will need threaded fittings or a plumber to make the transition.
⏱️ How long does a DIY water softener installation take?
For a first-timer with a clear installation location and all materials on hand, plan for 3 to 5 hours. Replacing an existing softener where the connection points are already in place typically takes 1 to 2 hours. The programming and testing at the end add another 20 to 30 minutes either way.
🧂 How much salt should I put in the brine tank after installation?
Start with about one-third of the brine tank’s capacity on the first load. Do not fill it to the top. The system needs to establish a brine solution before the first regeneration, and a partially filled tank is less prone to salt bridging early on. You can top it off more aggressively once the system has completed a few cycles.
🔍 How do I know if my DIY water softener installation worked correctly?
Run a manual regeneration immediately after startup. Once the cycle finishes, test the water at a cold tap with a hardness test strip. A result near zero grains per gallon confirms the system is softening. If hardness is unchanged, check that the bypass valve is fully in service position and that the brine tank had enough dissolved salt to draw during the regen.
🚿 Why is my water still hard right after installing the softener?
The resin bed needs one complete regeneration cycle before it produces soft water. If you installed in the afternoon and your scheduled regen is set for 2 AM, the water will not be soft until after that cycle runs. Run a manual regeneration from the control head to condition the resin immediately rather than waiting overnight.