Key point: Before you order any equipment, confirm five things: access to the main cold water line before it branches, a drain or standpipe within workable distance, a standard outlet near the planned control head location, copper or PEX or CPVC pipe rather than galvanized steel, and the ability to leave outdoor hose bibs on the unsoftened side. If most of those apply, DIY or a plumber-only hire is realistic. If drain access or pipe type is a problem, factor that into your budget before the softener arrives.
What the Installation Actually Involves
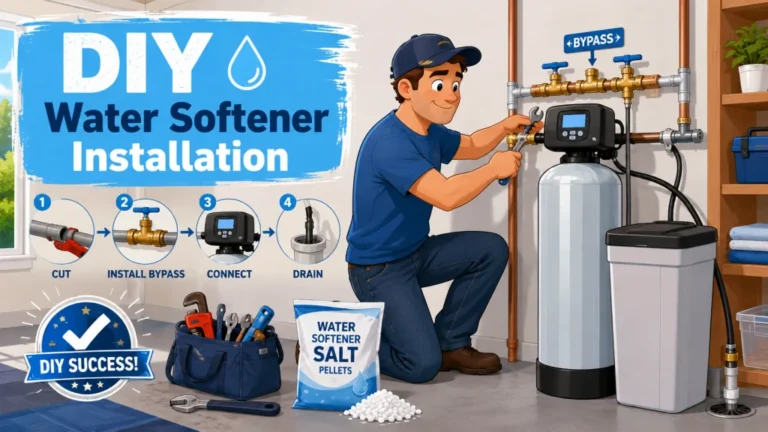
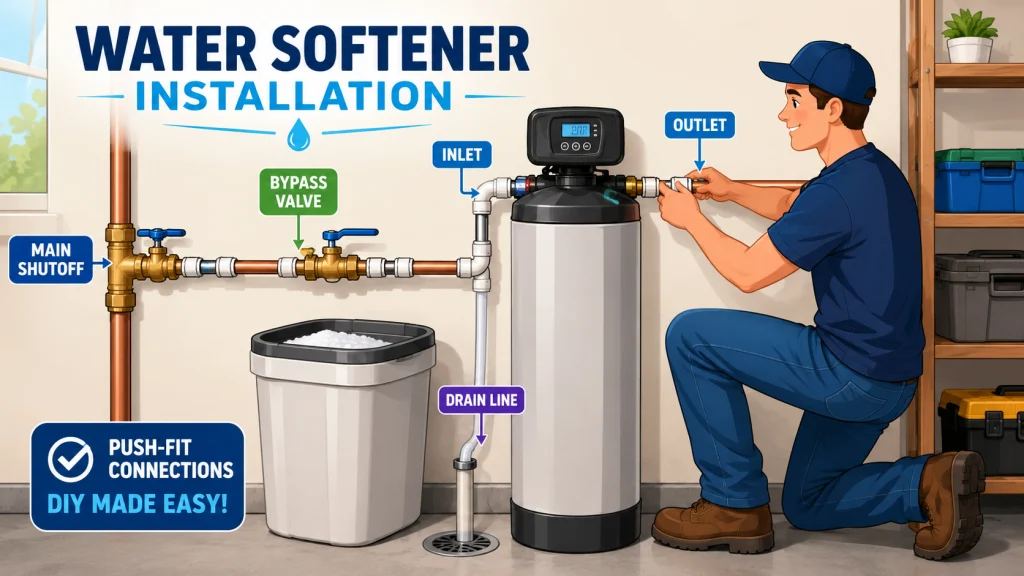
Water softener installation has six steps: shut off the main water supply, cut into the supply line at the correct location, mount the softener and bypass valve, connect the inlet and outlet lines, run a drain line to a floor drain or standpipe, and program the control head. After that, you fill the brine tank with salt, initiate a manual regeneration cycle to confirm everything is working, and check every connection for leaks. That covers the full scope for a standard city water home.
The step that sounds the most intimidating is cutting into the main supply line. In practice, it means making two cuts in a pipe and inserting fittings. The phrasing contractors and dealers tend to use makes it sound more surgical than it is. For most homes, the hands-on pipe work takes 20 to 30 minutes. The rest of the time goes toward measuring, dry-fitting the bypass valve, checking connections, and working through the programming sequence on the control head.
One part the six-step summary leaves out is that the drain setup matters more than most people expect. The drain line runs from the control head to a floor drain or standpipe during regeneration cycles. If you are draining to a standpipe, many local codes require an air gap or an approved drain connection rather than placing the drain line directly into the standpipe. Skip that requirement and you risk backflow into the brine tank during the drain phase. It is worth checking your municipality’s plumbing code before you finalize the drain setup, not after.
If you are replacing an existing softener rather than doing a first-time install, most of this complexity disappears. The pipe connections, drain line, and power outlet are already in place. The job becomes disconnecting the old unit, swapping in the new one, and reprogramming. First-time installs in a home that has never had a softener take longer because you are solving the location, drain, and pipe questions from scratch.
Field Note: One of the more consistent errors I see on first-time installs is the bypass valve installed with the inlet and outlet reversed. Most bypass valves are labeled, but the labels are small and easy to misread when you are working in a tight utility room. The symptom is that the softener runs but the water stays hard. Before you start testing salt usage or regeneration settings, confirm the flow direction is correct at the bypass.
Where the Softener Goes in Your Home
The correct location is after the main shutoff valve, before the water heater, and inside the home. All three conditions matter. Installing downstream of the water heater means running hot water through the resin bed continuously, which degrades the resin faster and does nothing to protect the heater from scale buildup. Installing outdoors exposes the control head electronics and brine tank to temperature swings they are not designed to handle. In freezing climates, outdoor installation risks cracking the valve body. A utility room, basement, or conditioned garage works well for most homes.
Outdoor spigots and hose bibs should stay on the unsoftened side of the line. There is no benefit to softening irrigation water, and routing outdoor draw through the softener wastes regeneration cycles on water that never needed treatment. The additional sodium in softened water is also a minor concern for plants and soil with extended use.
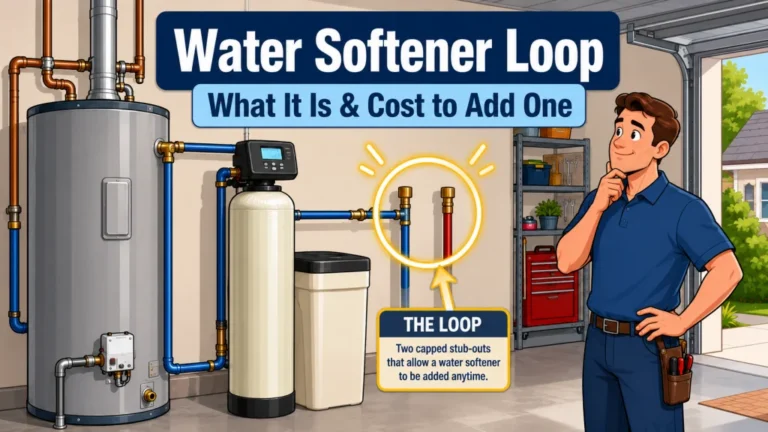
Some newer homes have a softener loop built into the plumbing, which is a pre-installed stub-out positioned specifically for a softener connection. If your home has one, the pipe work is simplified considerably because the access point is already there. If it does not, you plan the access point yourself, which adds a decision step but not necessarily complexity. Well water installations follow a different sequence altogether. The treatment order matters, and where the softener fits in the line depends on iron levels, sediment load, and any filtration already in the system.

Built for tight spaces, this high-grade steel cutter handles diameters from a quarter inch up to 1 and one eighth inches across hard and soft copper, aluminum, brass, and plastic. The knurled feed screw knob gives precise control over cutting pressure for clean, accurate cuts every time, while the lightweight slide and wheel housing keeps the tool easy to maneuver without sacrificing durability. A spare cutter wheel is included to keep you working without interruption.
Check On AmazonIf you click this link and buy, we earn a commission at no additional cost to you.
The Fitting That Changed the DIY Calculation
Push-fit fittings are the single biggest reason DIY water softener installation is accessible to most homeowners today. Before SharkBite and similar push-fit connectors became reliable enough for permanent plumbing use, connecting a softener to copper pipe meant sweating solder joints. That required a torch, flux, solder, enough clearance to work around the pipe, and enough practice to produce joints that would not leak. For a homeowner who had never soldered pipe before, that was a genuine skill barrier that pushed most people toward hiring a plumber even when everything else about the job was manageable.
Push-fit fittings work differently. You cut the pipe square, deburr the edge, and push the fitting on until it seats. SharkBite fittings are compatible with copper, PEX, and CPVC without swapping the fitting type. They are also removable, which matters if you need to reposition a connection during installation. The per-fitting cost is higher than solder, but a softener installation typically uses two fittings for the supply connections, so the dollar difference is a few dollars at most. For a homeowner doing this once, the tradeoff is not a real consideration.
The practical outcome is that the most technically demanding step in the installation has been reduced to making a clean pipe cut and pressing a fitting into place. A homeowner on TractorByNet described completing both supply connections with push-fit supply lines in under five minutes, with zero leaks, and saving the full cost of a plumber call. That result is repeatable for most standard installations when the pipe ends are cut clean and square and the fittings are fully seated. The reason this changes the DIY-vs-plumber decision is that “I cannot solder” used to be a real reason to hire out. It is no longer a factor.
Pro Tips: Use a tubing cutter rather than a hacksaw to cut copper pipe. A hacksaw leaves a rough, uneven edge that increases leak risk with push-fit fittings. Tubing cutters run about $15 at any hardware store and produce the clean square cut these fittings need to seal correctly.

This flexible braided stainless steel connector is compatible with PEX, PE-RT, CPVC, SDR-9 HDPE, and copper pipes, making it a versatile fit for nearly any plumbing setup. Both ends make tight turns without kinking, and installation requires no tools, crimping, glue, or soldering, which is ideal for tight spaces or misaligned pipes. Rated for up to 200 PSI and 200 degrees F, this lead-free connector meets commercial and residential plumbing standards for a clean, reliable, leak-free connection.
Check On AmazonIf you click this link and buy, we earn a commission at no additional cost to you.
DIY vs. Hiring a Plumber: Where the Line Is
DIY installation makes sense for most homes with a standard plumbing layout, a drain within workable distance, and a homeowner who is comfortable following steps without rushing. It does not require prior plumbing experience. What it does require is care on the pipe connections and a thorough leak check before you walk away. A leak caught during the final check is a minor inconvenience. One you miss is a much bigger problem a week later.
There are situations where hiring a plumber is the right call, and being honest with yourself about which category your home falls into saves time and frustration:
- No drain near the installation point: If adding a floor drain or extending a standpipe is necessary, that is a separate plumbing job. Bundling it with the softener installation makes sense when you are already having a plumber on-site.
- Galvanized steel pipe: Older homes with galvanized supply lines need transition fittings and more attention to corrosion at the cut points. Manageable for a patient DIYer, but slower and less forgiving than working with copper or PEX.
- No clear installation location: If you open the utility room and cannot identify where the main shutoff is or where the supply line runs before branching, a plumber is a better starting point than a guess.
- Complex plumbing configuration: Recirculating hot water loops, early-branching manifold setups, or homes where the supply line configuration is not immediately readable all add complexity that is easier to work through with someone who has seen it before.
- Permit required: Some municipalities require a permit for modifications to the main supply line. In those cases, a licensed plumber is often required to pull the permit.
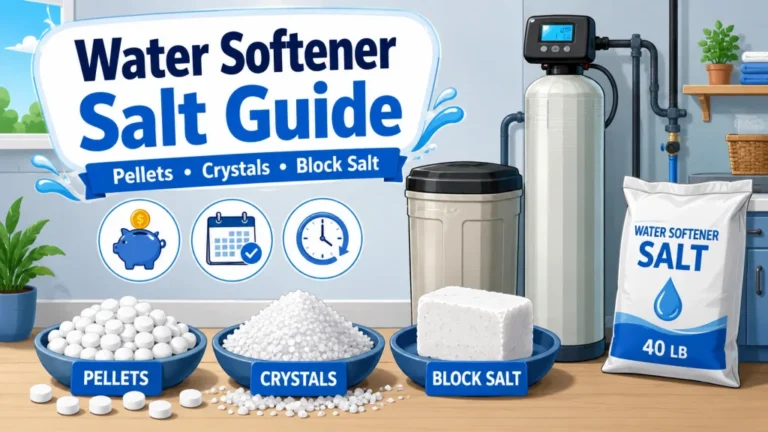
One option that works well for homeowners on the fence: hire a plumber for the pipe connections only and handle the rest yourself. The brine tank setup, hardness programming, and first regeneration cycle are all accessible to anyone who can work through a manual. You pay for the one step that benefits from trade experience and do the rest at no extra labor cost. For the ongoing side of managing your softener after installation, including how often to add salt and what type works best for your system, the water softener salt guide is worth reading before your first fill.
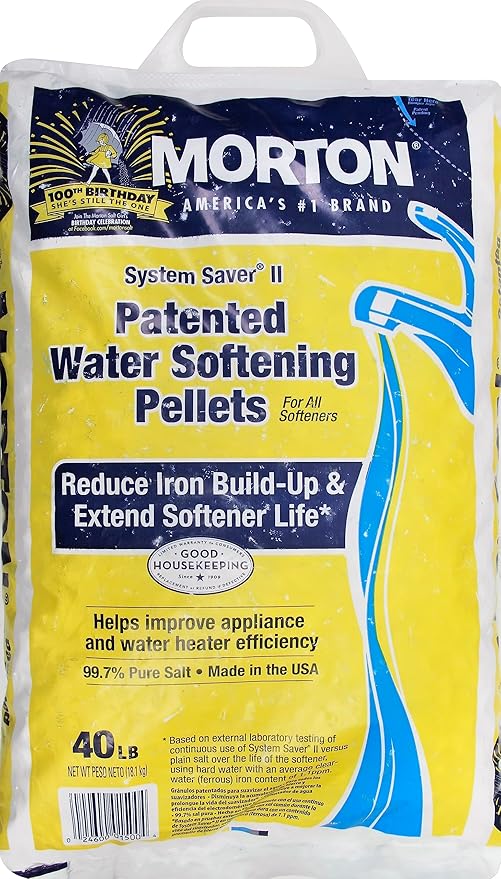
This 40-pound bag of USA-made System Saver pellets is designed to improve the taste of your water while helping extend the life of your appliances and water softener. Simple to use, just add the pellets directly to your softener's brine tank as needed.
Check On AmazonIf you click this link and buy, we earn a commission at no additional cost to you.
What the Job Realistically Costs
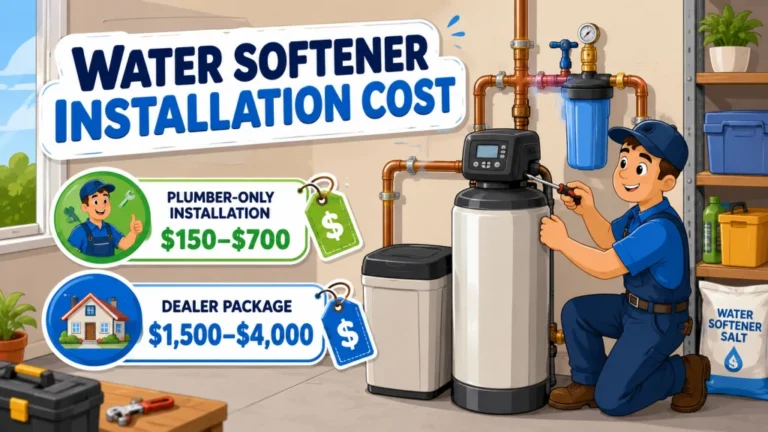
The decision is not just DIY vs. hiring a plumber. It is DIY vs. plumber-only vs. dealer bundle, and those three paths have meaningfully different cost profiles. Understanding the difference before you get a quote is the part most homeowners skip, and it is why the $1,500 average from Angi and HomeAdvisor surprises people. That number is not wrong, but it reflects what happens when you buy equipment and installation together through a dealer, not what the job costs when you separate them.
Buying the softener separately through a direct-to-consumer supplier and hiring a plumber for the pipe work only is a different calculation. A standard single-tank ion exchange system for a three-to-four bedroom home runs $300 to $1,500 depending on grain capacity, control valve quality, and whether you need extended features for iron or high-hardness water. Plumber labor for a straightforward installation runs $300 to $700 depending on regional rates and job complexity. Total: $600 to $2,200. Do it yourself and the labor cost drops to $30 to $50 in fittings and drain materials.
| Approach | Equipment | Labor | Typical Total |
|---|---|---|---|
| DIY | $300 to $1,500 | $30 to $50 in materials | $330 to $1,550 |
| Buy your own equipment, hire plumber | $300 to $1,500 | $300 to $700 | $600 to $2,200 |
| Dealer-supplied and installed | Dealer pricing, often significantly above direct cost | Bundled into total | $1,500 to $4,000 |
The dealer range is wide because dealer pricing varies by region and brand. The same control valve and tank combination that sells for $450 through a direct supplier can appear on a dealer quote at $1,800 with installation included. Whether the service justifies the gap depends on job complexity and what the dealer is actually providing. In most standard installations, it does not. A softener that looks like a reasonable deal at the dealer can become an expensive one once you factor in what the equipment actually costs separately. If you are evaluating which system to buy before working through installation logistics, the water softener recommendations guide breaks down what to look for by water condition and household size.
Note: Some municipalities charge a permit fee of $50 to $150 for modifications to the main supply line. Check with your local building department before scheduling work. Many residential softener installations do not trigger a permit requirement, but enough do that confirming first is worth the call.

IAPMO certified to NSF/ANSI Standard 44, this system is sized for homes with up to 5 people and 4 bathrooms, using ion exchange to deliver soft, scale-free water from every tap with city or well water compatibility. The user-friendly LCD allows metered operation that uses up to 50% less salt and 28% less water compared to standard time-based softeners, helping lower long-term costs on appliances, soap, and cleaning products. The bundle includes a recommended pre-filter and installation kit, and is backed by a 5 to 10-year limited warranty with dedicated customer support.
Check On AmazonIf you click this link and buy, we earn a commission at no additional cost to you.
Final Thoughts: Walk the Space Before You Order the Equipment
Most installation complications I have run into were avoidable with five minutes of advance planning. Someone buys the softener, it arrives, and they discover there is no drain near the installation point, or the only viable location puts the softener downstream of the water heater, or the pipe in that section of the basement is galvanized and they do not have transition fittings. None of those are unfixable, but they are all slower and more expensive to solve once the equipment is already in hand.
Before you order anything, confirm: where the main supply line runs and where you would cut into it before it branches, whether there is a floor drain or standpipe within about ten feet, whether there is a power outlet within reach of the control head, and whether there is enough clearance around the brine tank to access it for salt additions. That last one sounds minor. A brine tank you have to move other items to reach every six weeks becomes a reason to skip refills. Skipped refills mean the resin stops regenerating and the softener stops softening, which is one of the more common reasons I get called for a system that suddenly “stopped working.”
Once the system is running, the ongoing maintenance side is mostly salt management and an occasional valve cleaning. The water softener maintenance guide covers that schedule and what signs of wear to watch for over time. If you want the full picture of both installation and ongoing ownership before deciding how deep to go on any one topic, the installation and maintenance overview covers the lifecycle from the first install through years of service.

This kit lets you test drinking water, pool water, or any water source in seconds using a simple dip-and-read method with an oversized color chart ranging from red to green, covering 0 to 25 GPG and 0 to 425 PPM. All 100 strips are protected by FreshSeal technology across a ready-to-use bottle and two sealed pouches for long-term accuracy. Each purchase also funds a full year of clean water for someone in the Central African Republic.
Check On AmazonIf you click this link and buy, we earn a commission at no additional cost to you.
Installation Topics Covered in Depth
Each article below handles one specific part of the installation process. If you already know which aspect you need, go straight to that one. If you are still in the planning stage, the cost breakdown and the placement guide are usually the most useful starting points before anything else.
| Article | What It Covers |
|---|---|
| Water softener installation cost breakdown | What drives the cost gap between DIY, plumber-only, and dealer-installed, with a line-by-line breakdown of what each approach actually includes |
| How to install a water softener yourself | Full step-by-step DIY installation with tools list, fitting types, the programming sequence, and the most common first-time mistakes |
| Where to install a water softener in your home | Correct placement on the supply line, temperature and clearance requirements, and what goes wrong when placement is wrong |
| Installing a water softener on well water | Treatment sequence for well water systems, iron and sediment considerations, and how the installation order differs from city water |
| What a water softener loop is and whether your home has one | How to identify a pre-installed softener loop, what it means for installation complexity, and what to do if your home was not built with one |
| Water softener installation with a tankless water heater | Why tankless heaters are more vulnerable to hard water scale, what the manufacturer warranty typically requires, and how installation order affects protection |
| Home Depot and Lowe’s water softener installation services | Who actually does the work, what is included in the service, and how the cost compares to hiring a local plumber on your own |
FAQs
🔧 How long does it take to install a water softener?
Most DIY installations on a standard city water home take 3 to 5 hours, including planning and leak checking. A plumber familiar with softener work typically finishes in 1 to 2 hours. Programming the control head and running the first regeneration cycle adds another 20 to 30 minutes on top of either approach.
🪛 Do I need to solder to install a water softener?
No. Push-fit fittings such as SharkBite work on copper, PEX, and CPVC without any soldering. You need a tubing cutter for a clean pipe cut and the fittings themselves. For most standard supply-line connections, that is all the hardware the pipe work requires.
💰 How much does water softener installation cost?
DIY costs $30 to $50 in materials. Hiring a plumber for labor only adds $300 to $700. Buying through a dealer with installation bundled typically runs $1,500 to $4,000, which includes the equipment at dealer pricing. Buying your own equipment and hiring a plumber for the pipe work only is usually the best value if you are not doing it yourself.
📍 Where should a water softener be installed in the house?
After the main shutoff valve, before the water heater, and inside the home. Outdoor installation is not recommended. Hose bibs and outdoor spigots should remain on the unsoftened side of the line. Also confirm a drain, a power outlet, and enough clearance around the brine tank for salt refills are all available at the location you choose.
🚿 Can I install a water softener myself without plumbing experience?
Yes, for most standard city water homes. Prior plumbing experience is not required, but you need to be comfortable working carefully through each step and doing a thorough leak check at the end. A plumber makes more sense if the layout is complex, the pipe is galvanized, or a permit is required in your area.
⚠️ What happens if a water softener is installed in the wrong location?
Installing downstream of the water heater runs hot water through the resin bed, which degrades the resin and leaves the heater unprotected from scale. Installing outdoors risks control head failure and, in freezing climates, physical damage to the valve body. Both mistakes are avoidable with a quick review of placement rules before you cut anything.
🔄 Is replacing an existing water softener easier than a first-time install?
Yes, significantly. The pipe connections, drain line, and power outlet are already in place. The job becomes disconnecting the old unit, connecting the new one to the existing supply lines, and reprogramming. First-time installs take longer because you are solving the location, drain access, and pipe type questions from scratch.